This is a lab objective that I completed as part of my AAS Degree in Welding Technology from Texas State Technical College – Waco. Te objective was to weld a 6″ pipe specimen with limited access per ASME code using GTAW (Gas Tungsten Arc Welding, a.k.a TIG welding) and SMAW (Shielded Metal Arc Welding, a.k.a stick welding) with four bend specimens.
The parameters:
Material: 6″ Heavywall Pipe (5/8″ wall)
Joint type: V-groove
Bevel Angle: 60 degree included angle
Root Land: 1/16″
Root Opening: 5/32″
Position: 5G
Special: bottom of pipe can be no more than 4″ above the ground
Root/hot pass:
Process: GTAW
Filler: ER70S-6 (1/8″ diameter)
Shielding: Argon
Amperage:
Root: 110 Amps
Hot pass: 130 Amps
Progression: up
Fill/Cap:
Process: SMAW
Filler: E7018 (3/32″ diameter)
Amperage: 80 Amps
Testing: 4 side bends per ASME
Click all pictures for a larger view.
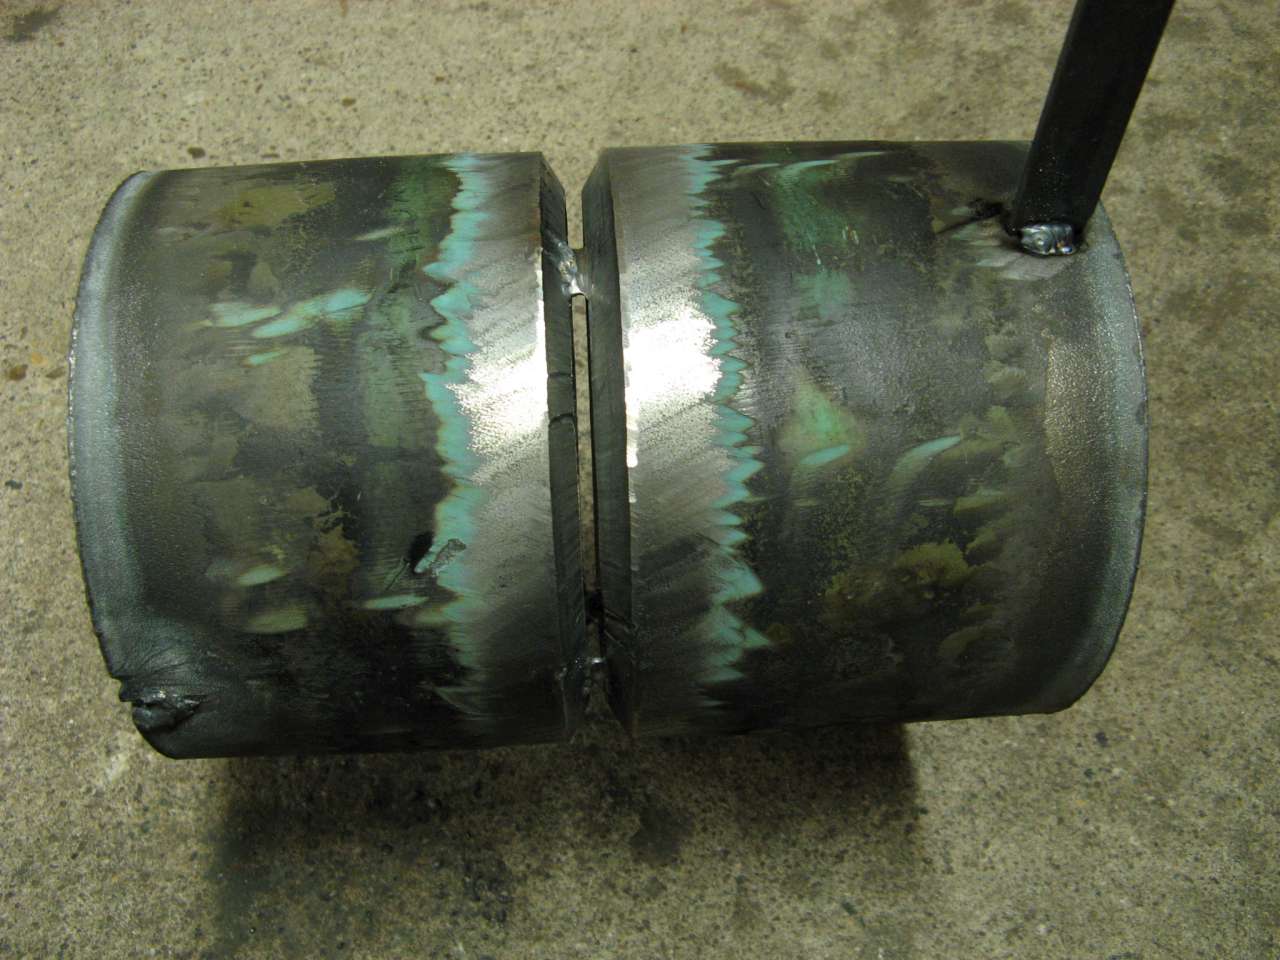
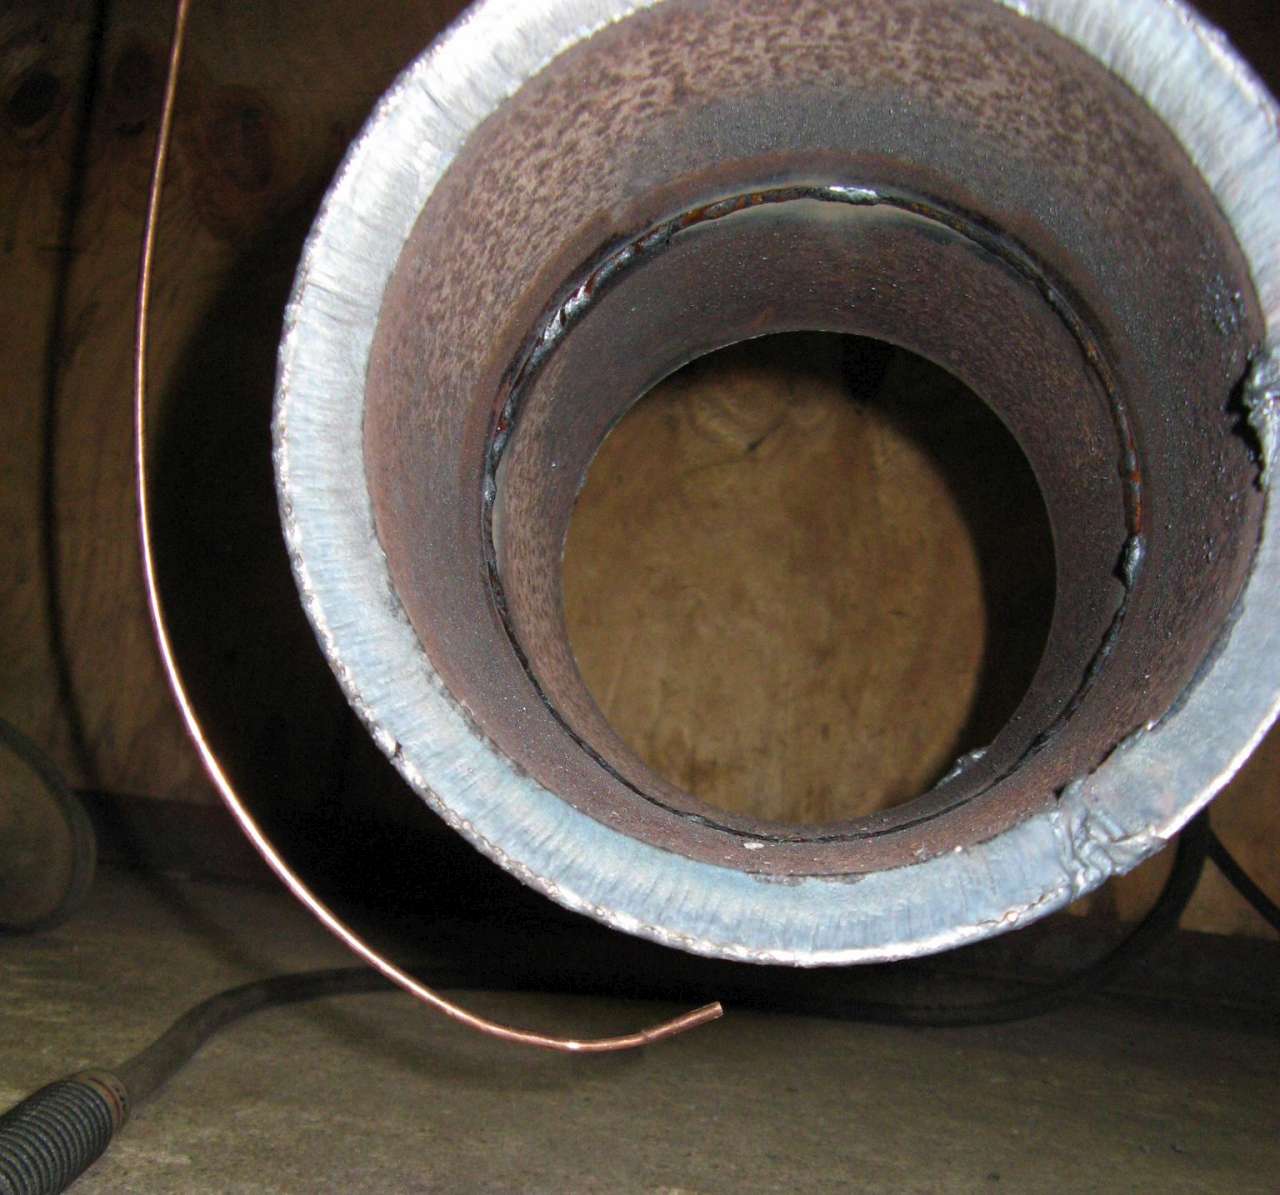
Here’s the fit-up. The pipe is ground clean to at least 1″ outside the joint, inside and out. Tacks are ground down to ensure that they tie in to the root bead properly:
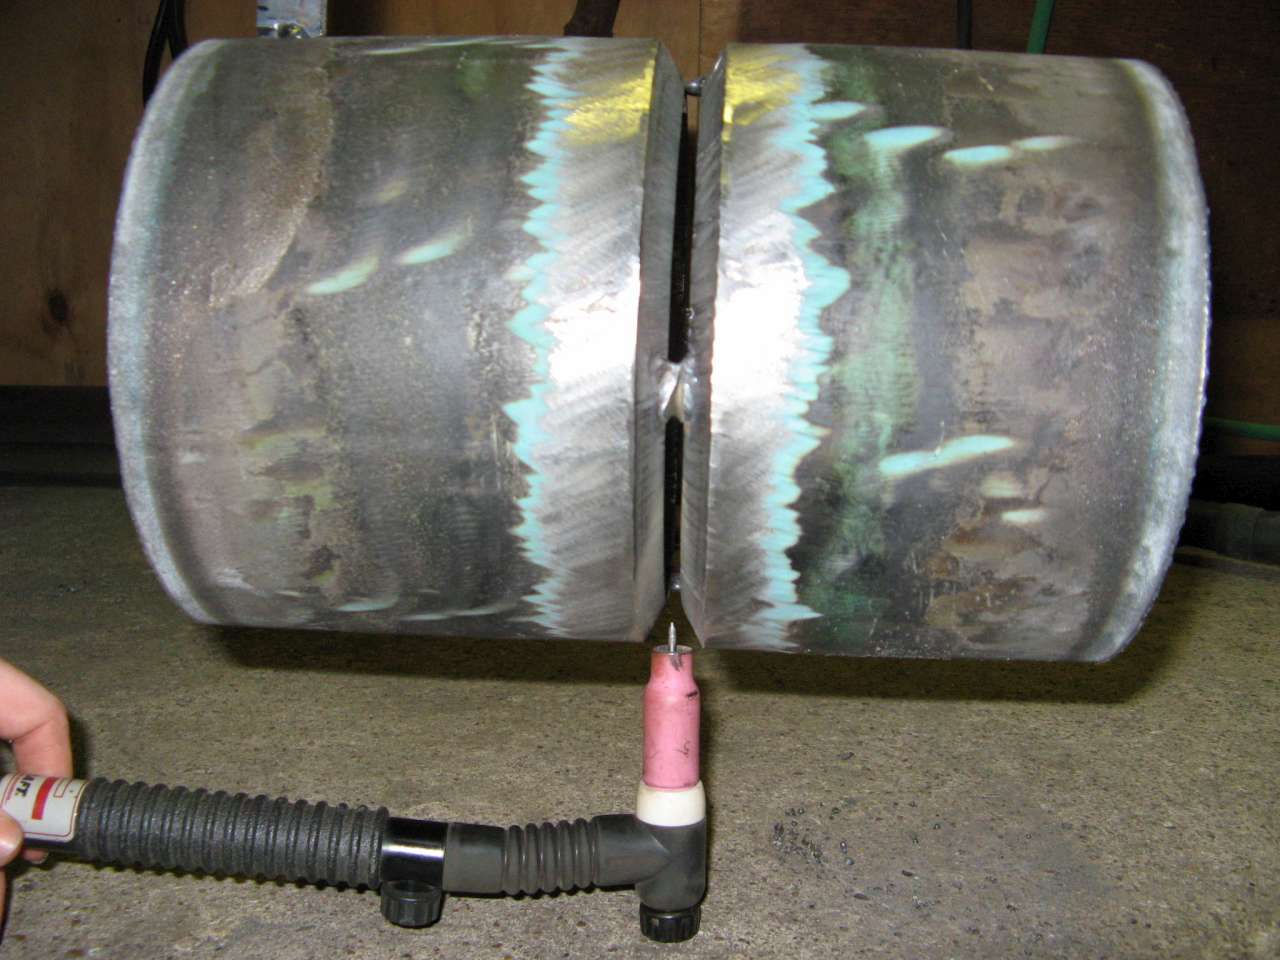
The requirement that the pipe be no more than 4″ off the ground means that there is just barely enough room for the TIG torch, even when using a short back-cap:
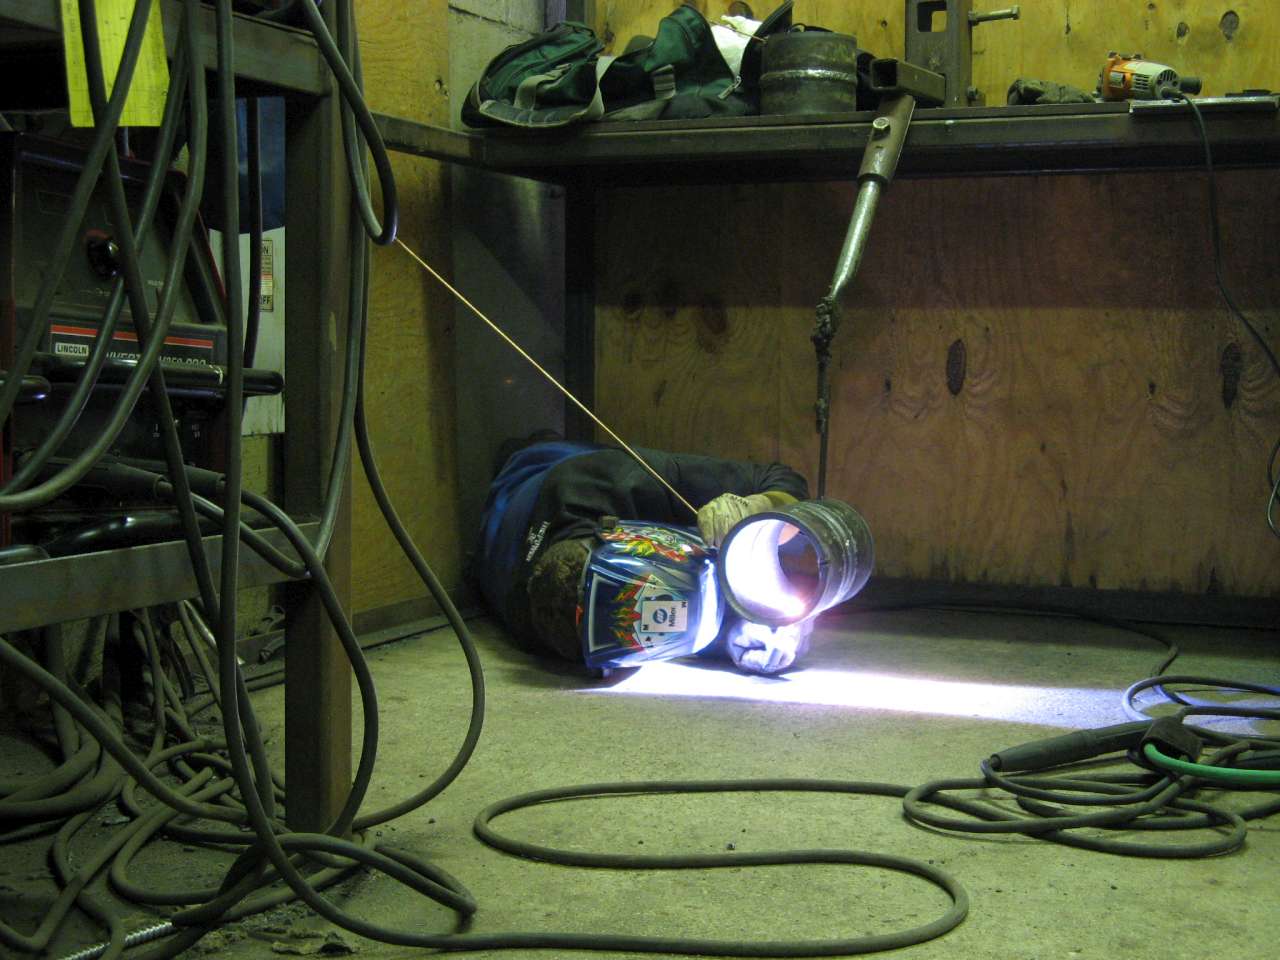
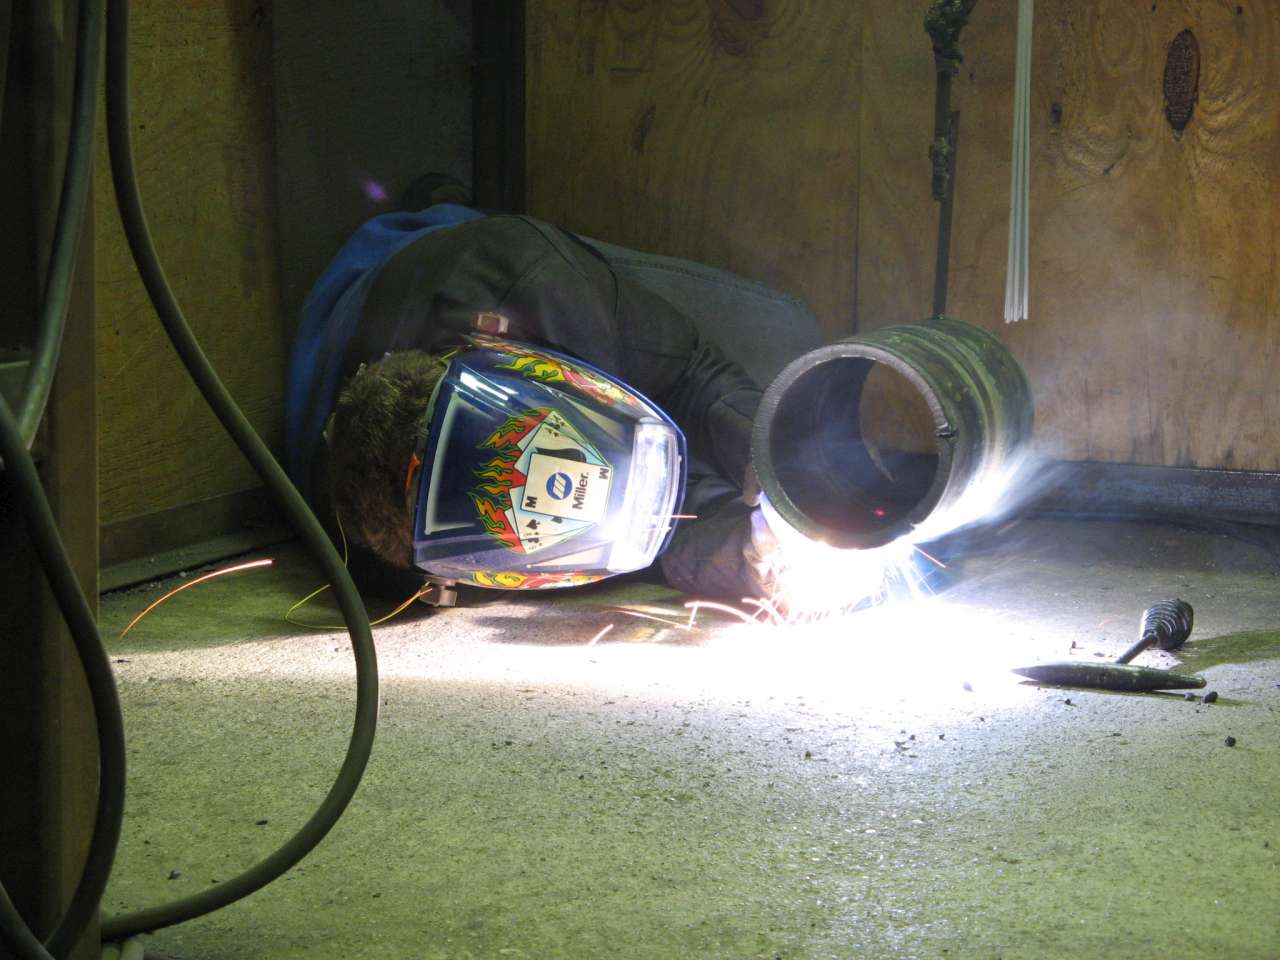
Here’s me curled up under the work table putting in the bottom part of the root. Note that the filler is fed through the joint and into the puddle on the inside of the pipe:
Here’s me putting in the top of the root pass, now I’m kneeling under the table: (I just wished I had remembered to come out from under the table before trying to stand up.)
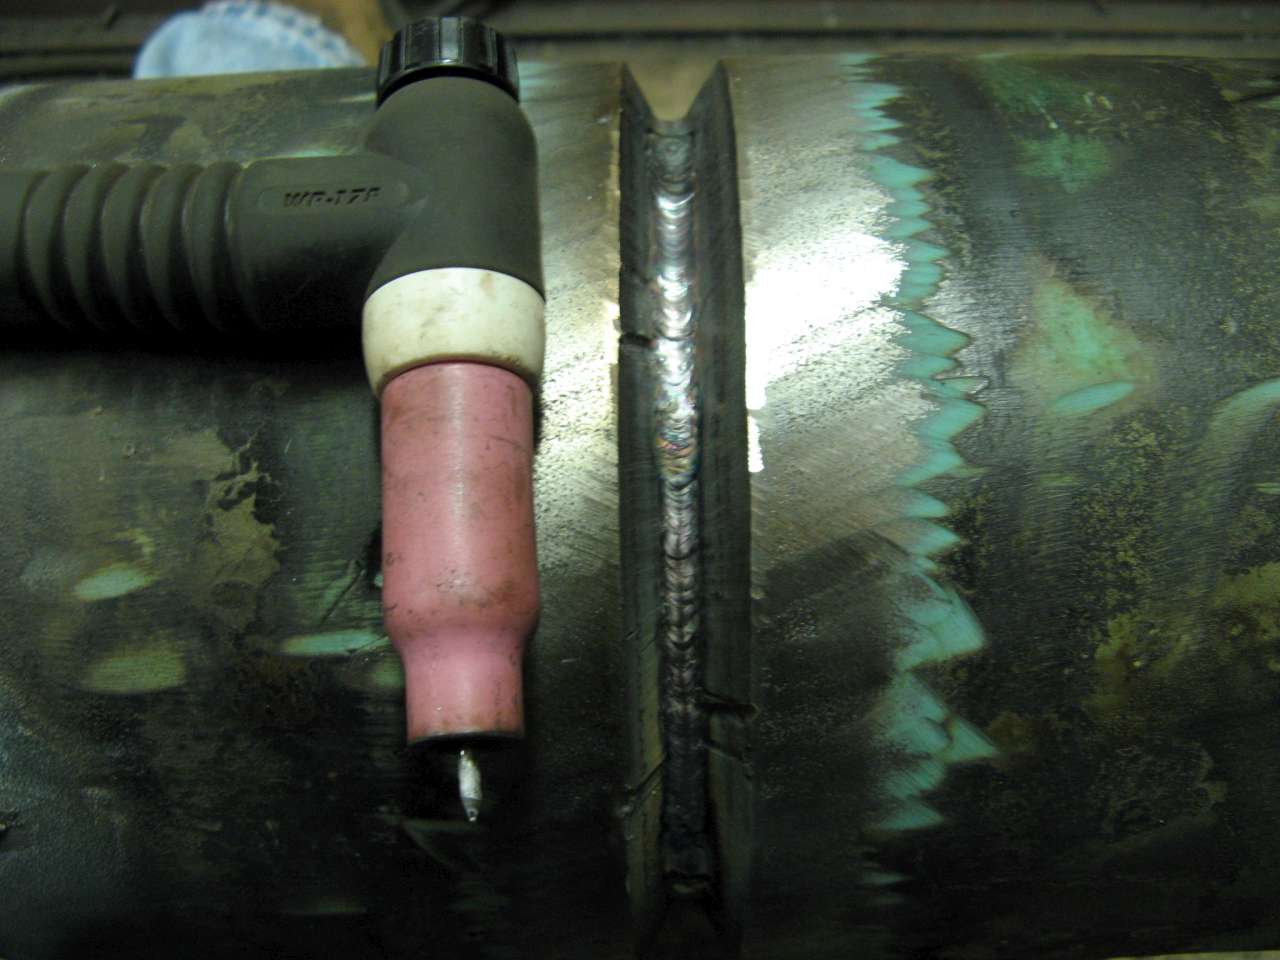
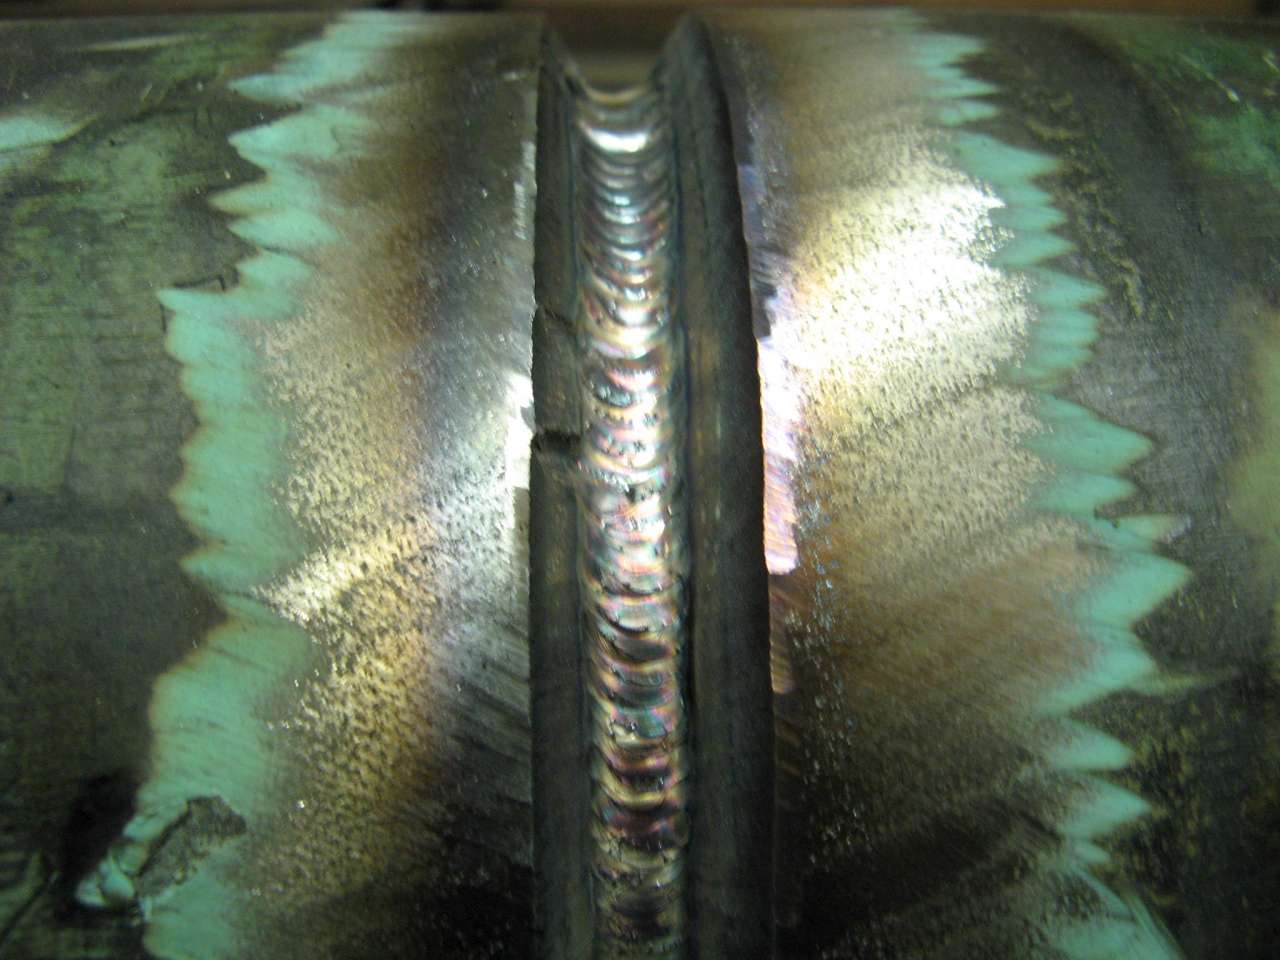
Here’s the root. I had to use a narrow gas cup and a long electrode stickout to reach far enough into the groove:
Feeding the filler on the hot pass required some “creative” filler manipulation:
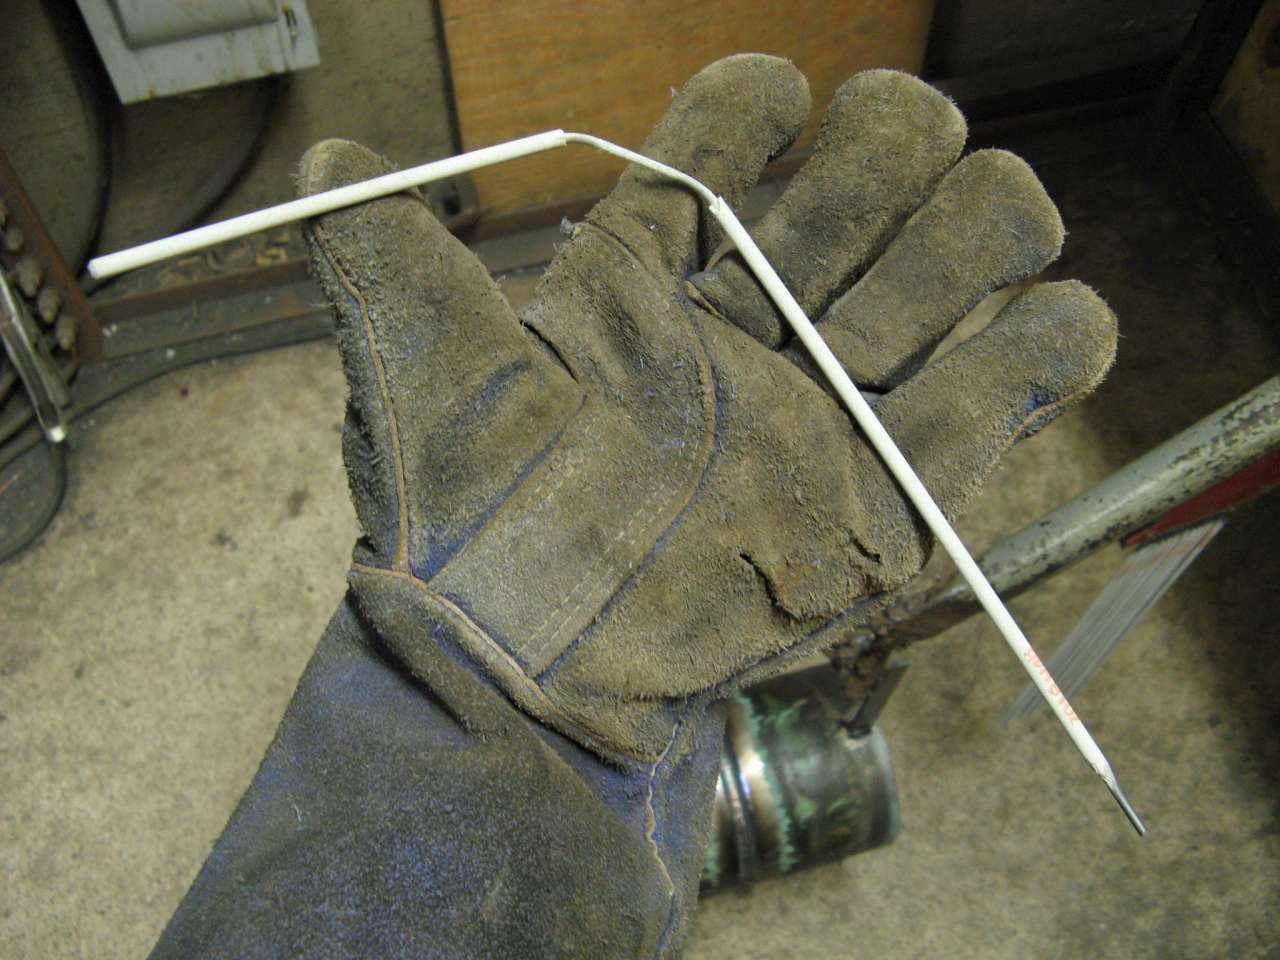
Now it was time to swap the work and electrode leads and switch the machine over to SMAW (Stick) mode to fill the rest of the joint with E7018. Naturally it’s rather difficult to fit a 14″ long electrode into a 4″ gap, so we bend the electrode like so:
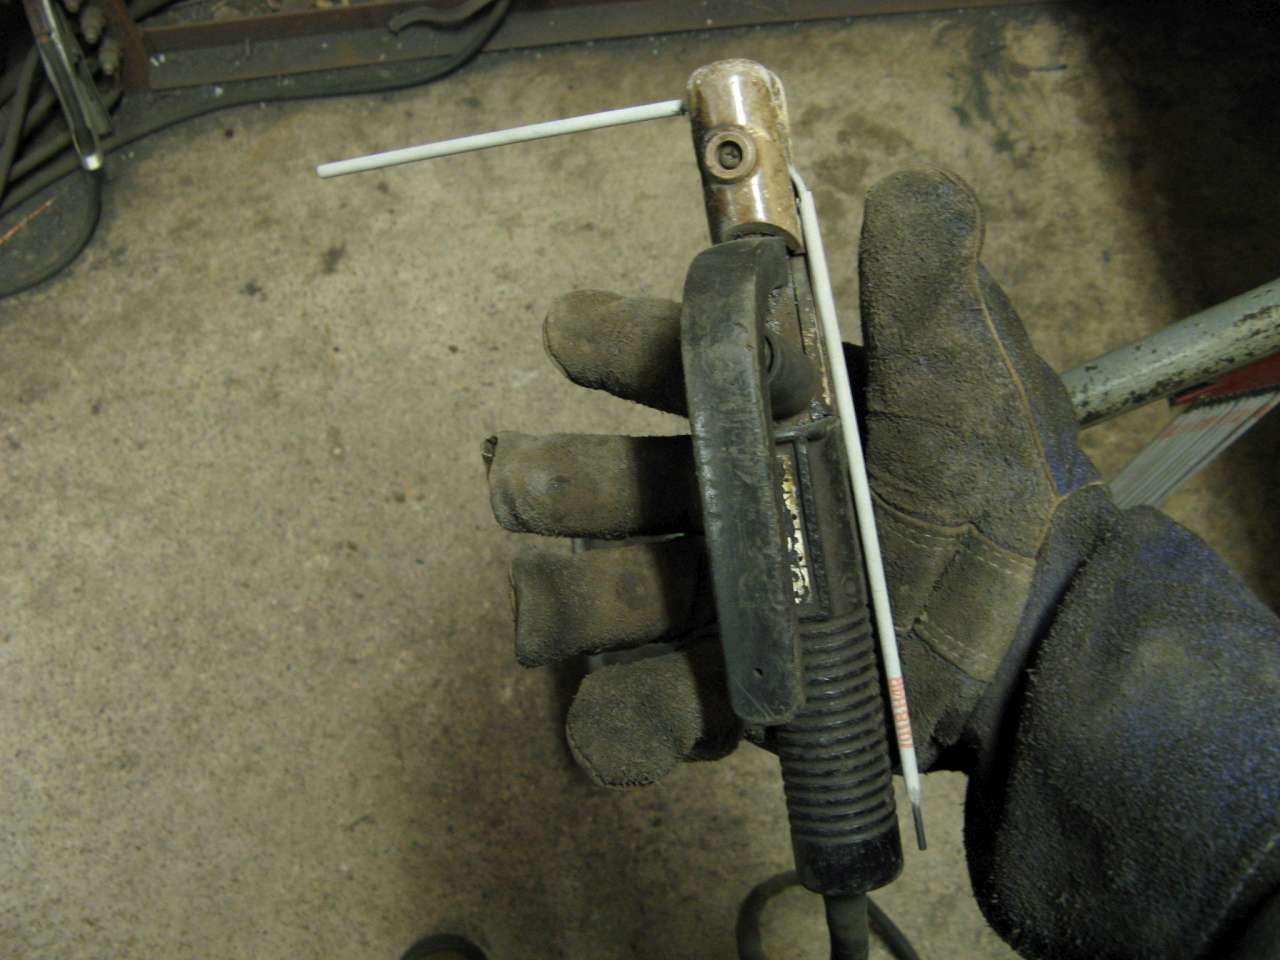
Clamp it in the stinger (electrode holder):
When doing the very bottom you can’t see the puddle so you just have to guess what it’s doing until you get far enough along in the joint to actually see. Also, the bottom of the pipe has lots of restarts since 4″ of rod will only get you about an inch and a half of weld when you weave in a joint like this.
Anyway, my camera batteries died right after that last picture so I didn’t get any pictures of the fill passes.
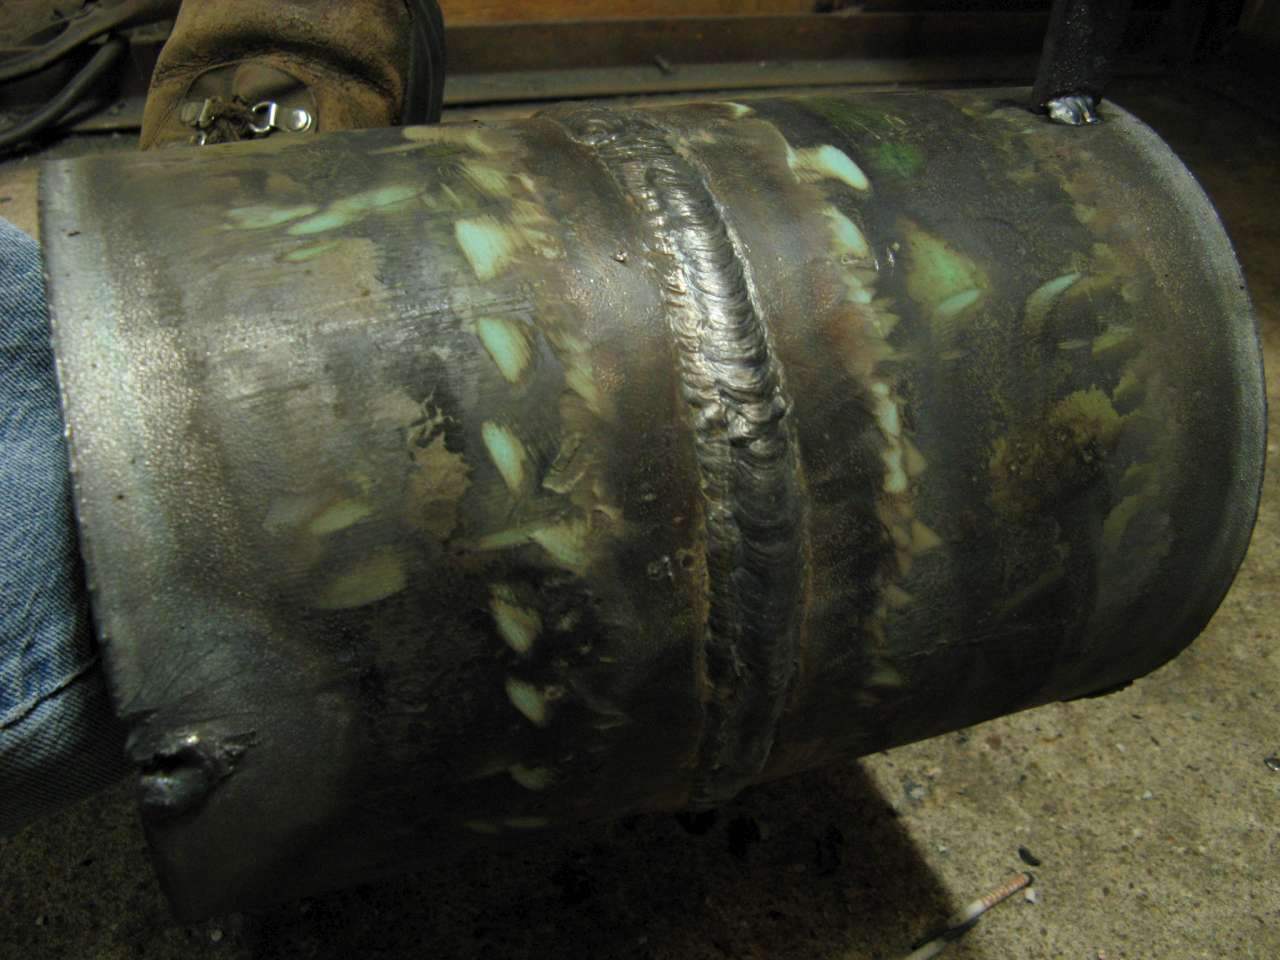
I managed to get new batteries in time to get a pic of the cap pass. It’s not quite as good as I’d like but the “inspector” (read: instructor) signed off on it so it’s good enough:
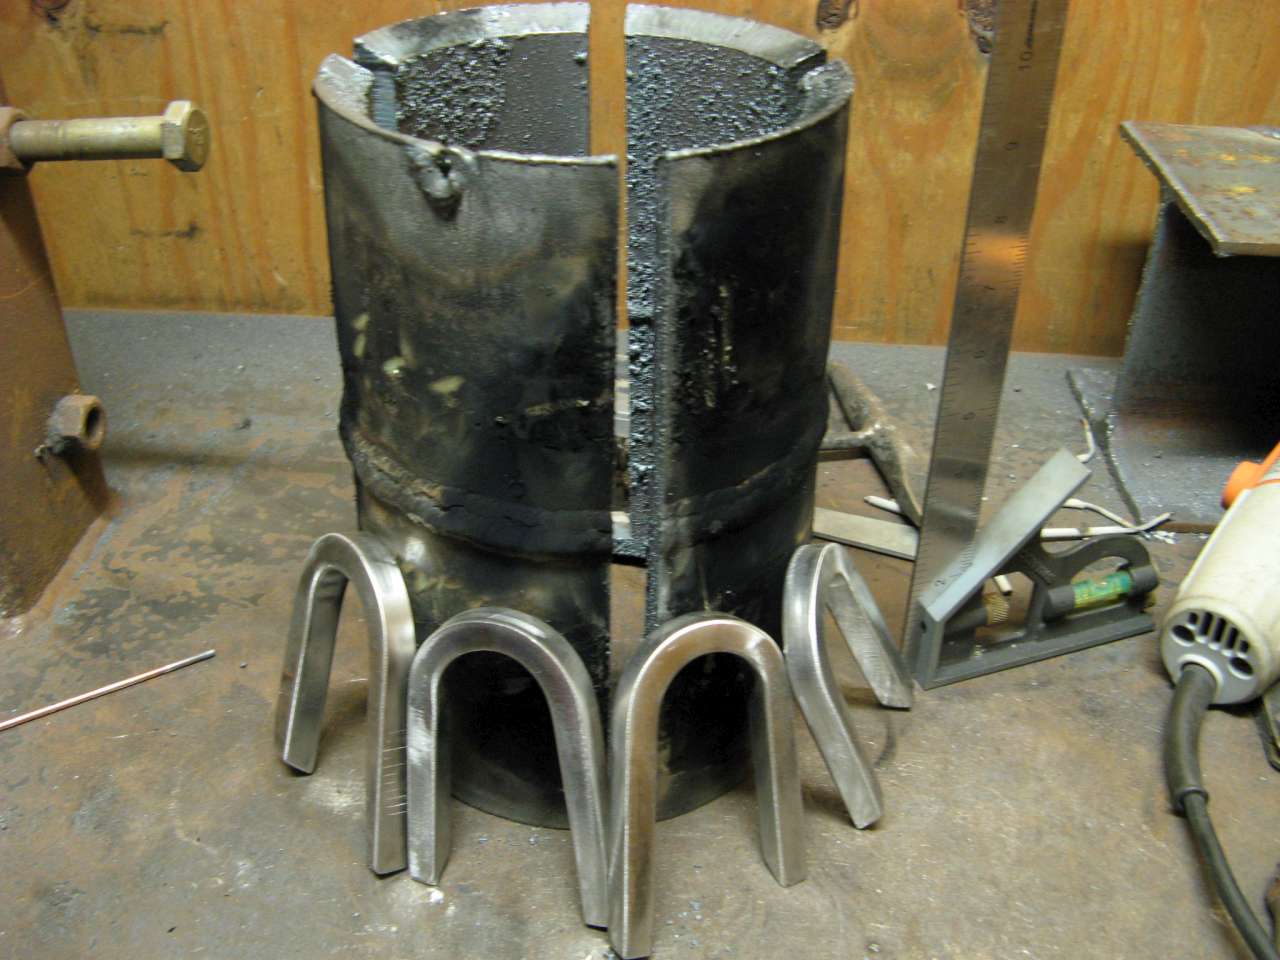
Here’s a pic taken after I cut out and bent the four bend specimens:
And a closeup of the bend tests:
If you look really close at the last picture (click on it for a larger view) at the top and bottom edges of the specimens, you can see how it looks like the weld got “sucked in” to the piece when it was bent. This is because the pipe is made of a higher strength steel than the weld metal.
Generally, the higher strength a steel is, the higher the yield strength. The yield strength is how much load/stress/force/etc. a metal can take before it will plastically deform (bend, and stay bent when the load is removed). During the bend, the weld metal, with its lower yield strength, began to deform first and stretch. If you’ve ever stretched out a rubber band or piece of rubber you’ve seen how the more you stretch, the thinner the middle section gets, the same thing happens with steel (and other metals) except that steel won’t spring back (as much).
Both of the filler metals in this objective were of the 70 class (ER70S-6 and E7018). In this case the filler metals were under-matched to the base metal. In the real world, this is not always a bad thing, even though the weld is weaker than the base metal, it might still be plenty strong for the expected service of the weldment (plus, the filler is usually cheaper than the higher strength stuff.
As a side note, I once worked a a place where we used 80 class electrodes (ER80S-D2 and E80C-D2) and our test plates were regular A36 steel (basically your average, not particularly strong, mild steel as is used in most structures, I-beams, angle iron, etc.). There, the weld metal was (very) over-matched to the base metal. When we did bend tests the opposite would happen. The weld was stronger than the base metal so it actually stuck out slightly from the base when bent.
